
First, I decided on the size of my napkins. My aunt had found upholstery fabric from hobby lobby with a print that would go great with the overall “vibe” of the wedding. It incorporated stripes, polka dots, and paisleys, all my favorites! Since it was rather on the expensive side of things, I decided that even though typical napkins are 18”x18”, I wanted to utilize as much of the bolt as possible so I made my napkins 15”x15” when cutting them. You can make yours whatever size you want. I decided that I would try to make my hems as tiny as possible, as in ¼”. I also cut off the corners so that when folding the hems, it wouldn’t bunch and make a thick layer on the corner. See below:

Next, I turned over the first hem of approximately ¼” around the entire napkin. I put about 3 pins in each side to hold it down. And, as much as I hate ironing, I ironed each of the sides down. I tried cutting this corner by experimenting, but ironing made everything else soooooo much easier. And luckily enough, my fabric had stripes running thru it so at least two of the sides were straight as I tried to follow the lines whenever I could to keep a straight hem.
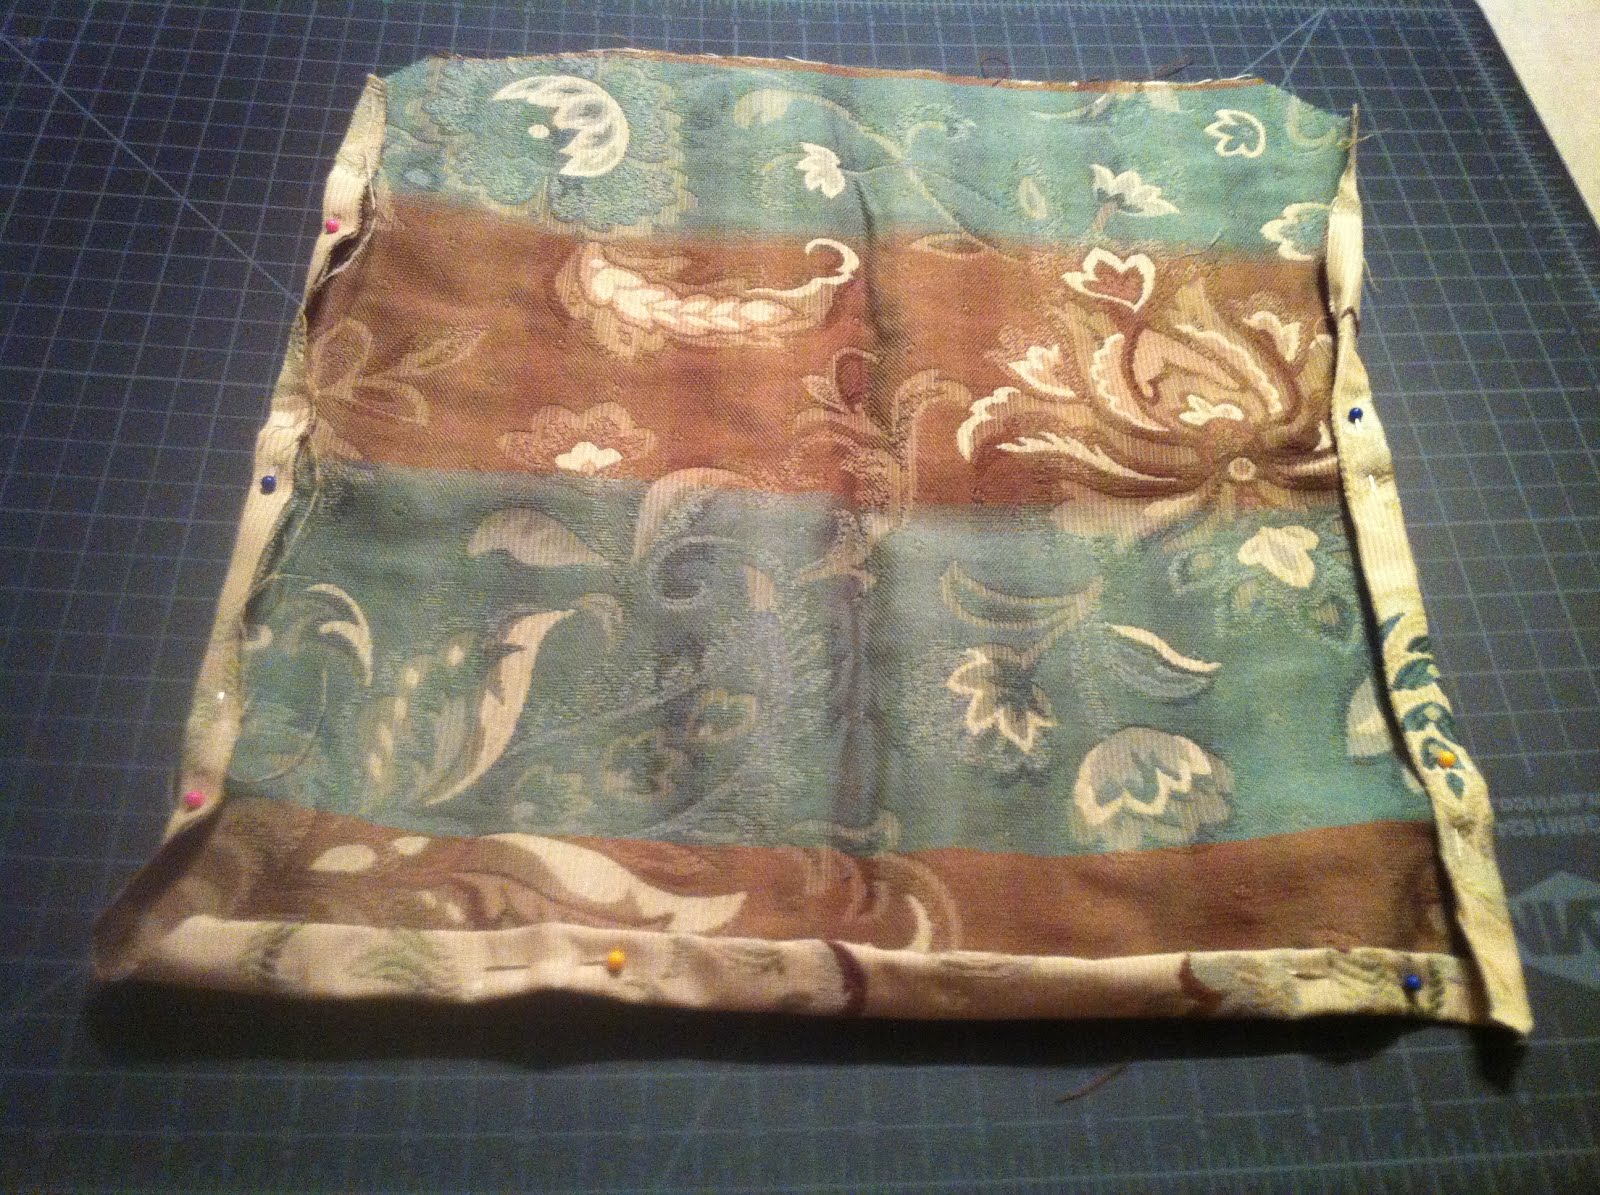
Then, I repeated the above step and turned the ironed edge over again. This made the fabric about 3 layers deep. It also made the underside not look so bad. The second pinning and ironing covered up the raw edge that otherwise would have shown thru. I only have one picture for the two steps above. Sorry, wasn’t blogging when I made the napkins so I didn’t think to take pictures. The hem on the left, is pinned only once. The hem on the right and side closest to you, is rolled twice.
Finally, I sewed around the edge. As I got to each corner, I would wait until the needle was stuck thru the fabric and sewing foot, and then rotate the fabric around to sew the next side. This made it so I didn’t accidentally so off the edge, which is what I didn’t want to happen.

I got to where I could sew about 25 a week, but it was rough. And I know some of you are thinking, 200 napkins? That’s 8 weeks/2 months of sewing napkins! Well, all I had to do was make some pitiful faces and my mom as well as my FMIL both offered to help. Thank goodness!!! Even with only doing 75, I was wondering if we could cut the guest list down (kidding, kidding). The other 125 look way more professional then mine. Oh well. With it being my first diy, I probably could have finished it myself, but then again, it might have not made the cut. But then I look at the below possibility of what could be on our tables, and I’m so glad we finished them. I can’t wait!


It was fun making them actually. I love helping out with anything for the wedding.
ReplyDelete